By Michael, former real estate photographer in St. Augustine, FL.
Fix Blown-Out Windows in Real Estate Listing Photos
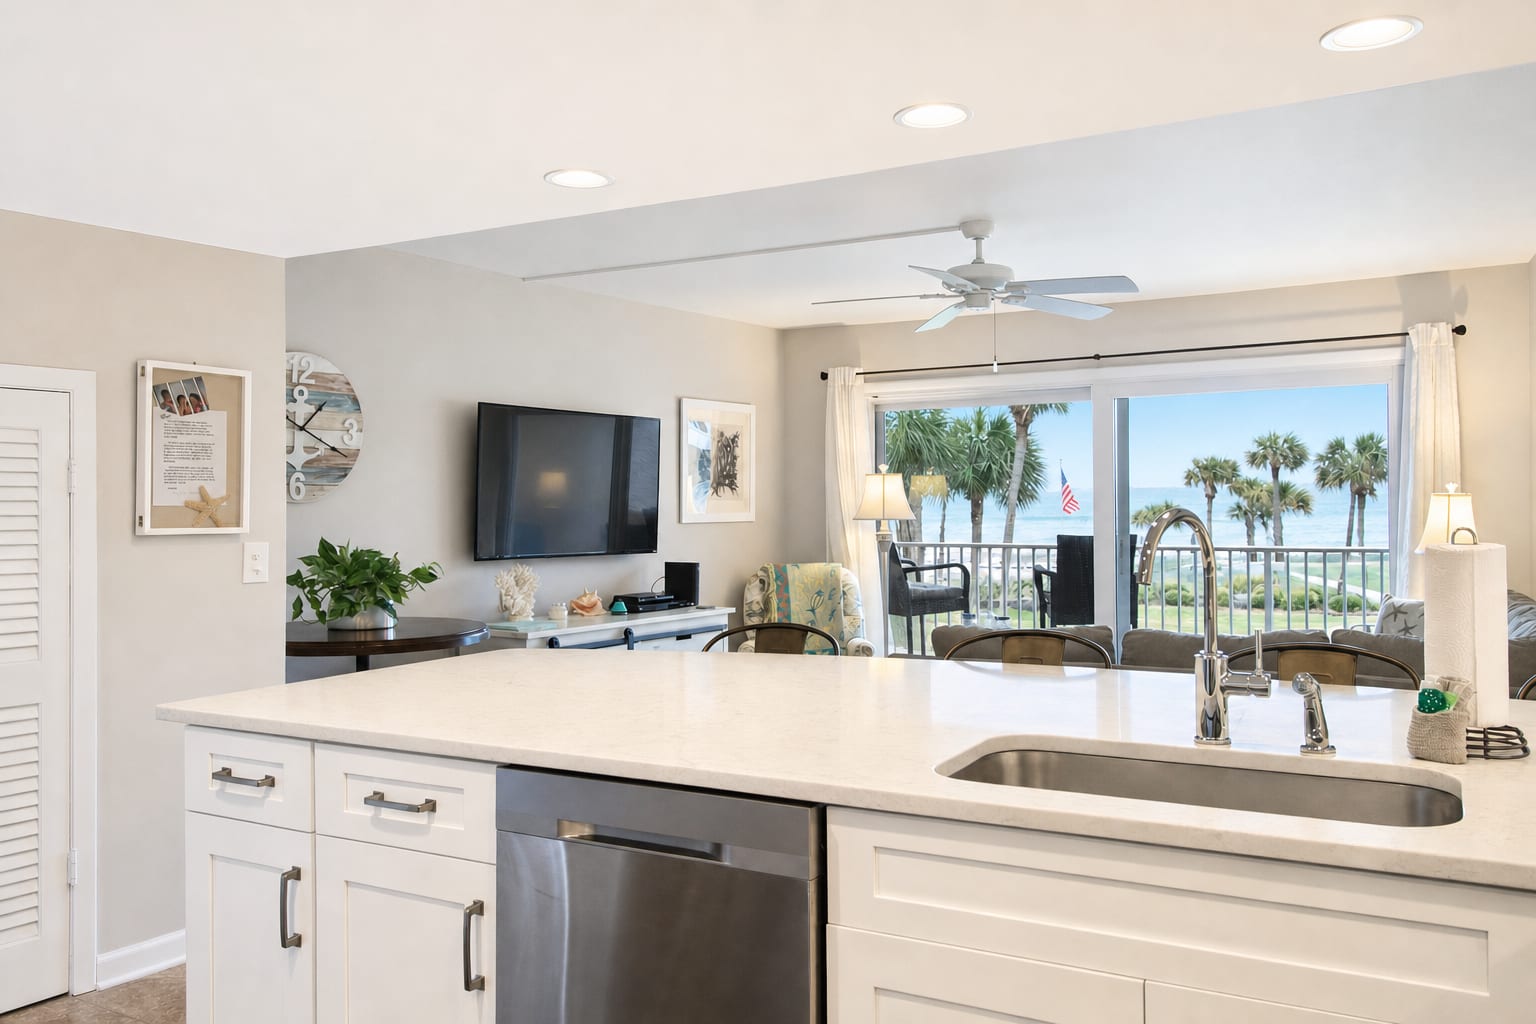
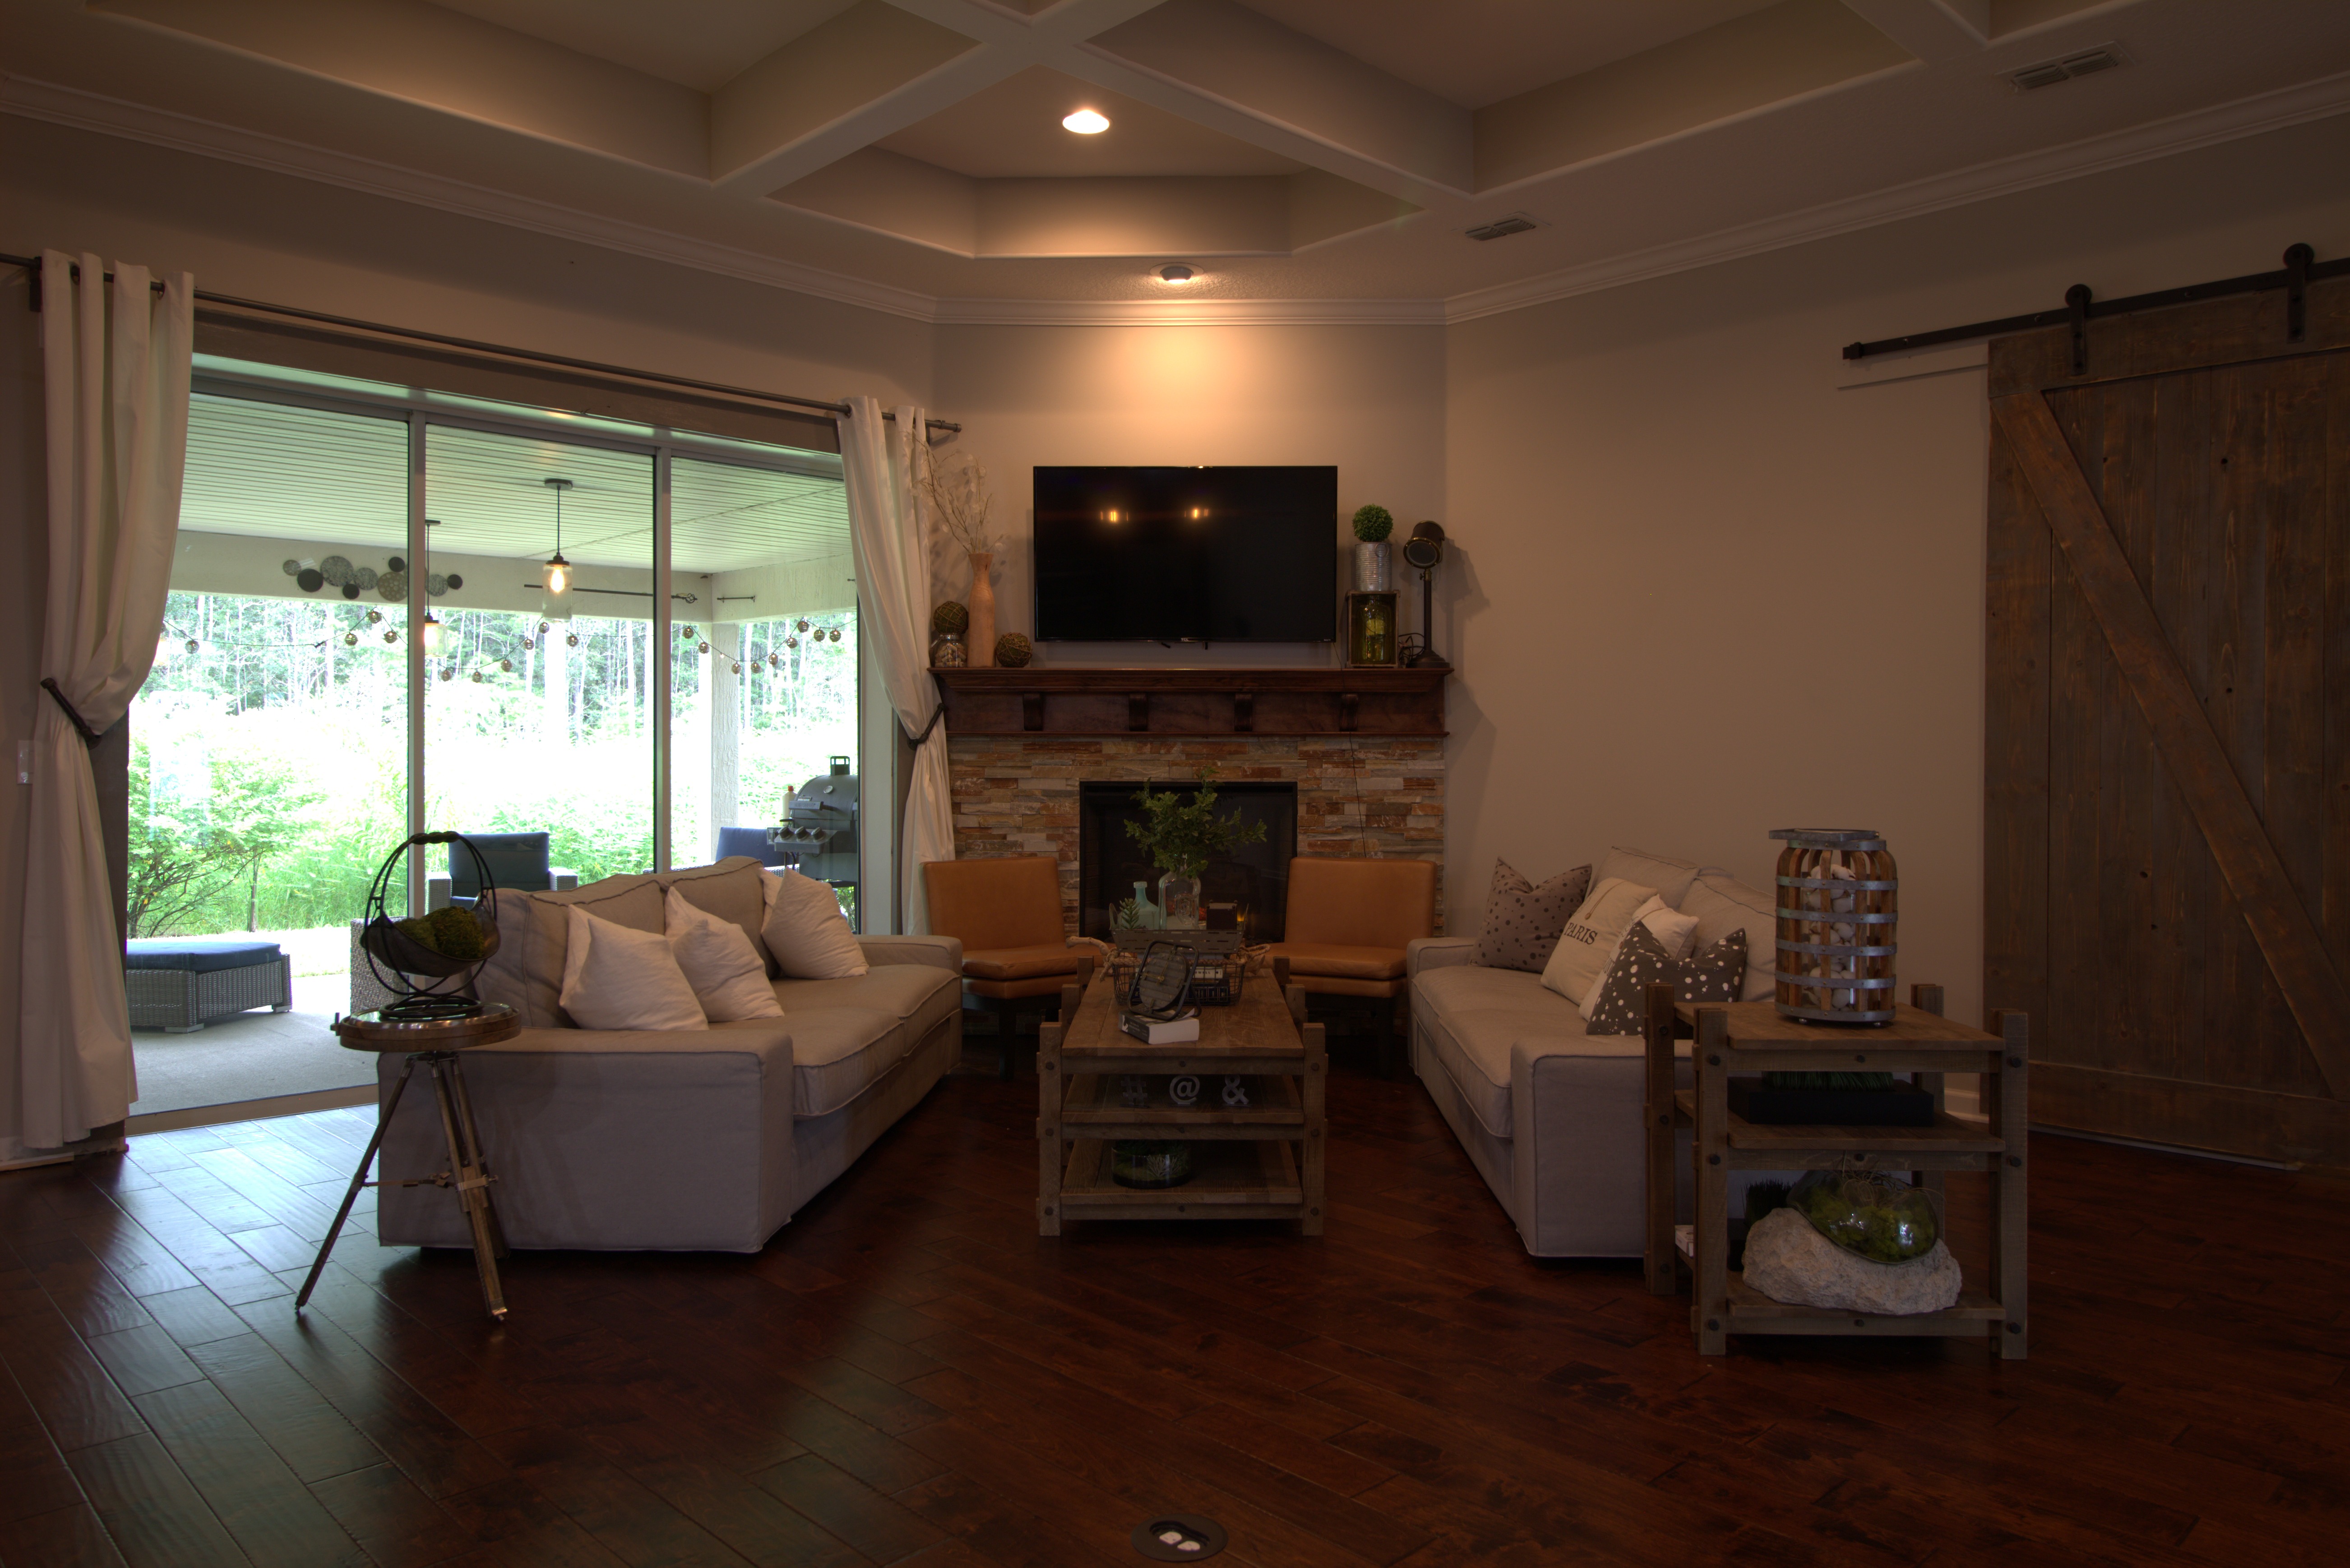
You take a photo of a kitchen with a sliding door out to the yard. The room looks great, the island and the cabinets are clearly visible. But the door's glass is solid white, with nothing outside it. Or you tap the door to fix the view, suddenly the trees look great, and the kitchen has gone dark. Either way, half of what makes the listing photo work is gone. The technical name for the white-window version is blown-out windows, and it is the most common fixable problem in phone-shot real estate listing photos.
Why this happens
Every listing has at least one shot with blown-out windows. The reason is simple. A phone camera takes one exposure per shot. If it brightens for the room, the bright outside view goes white. If it brightens for the view, the room goes dark. There is no setting that fixes both at once because the inside is genuinely much darker than the outside on a sunny day. The phone is doing what cameras have always done: pick one.
The pro fix: bracketing
Real estate photographers work around this by shooting several photos at different brightness levels from the same spot and stitching them together in editing software. It works, but it adds a tripod, several extra shots per room, and an editing step most agents do not run.
The BiziEdit fix: one extra photo
BiziEdit takes a simpler path. You take two phone photos from the same spot. The first is the room shot you would normally take. For the second, frame the same view, then tap the bright window on your phone screen and hold for a moment to lock focus. The whole frame will look dark on your screen. That is correct: the second photo's job is to capture the view, not the room. Take the shot, upload both photos, and the output comes back as a single image of the room with the view restored, ready to drop into the listing. Two taps, two photos, no tripod, no app switching.
Pricing
The base photo enhancement is $0.79 per image. The window restoration is an add-on at +$0.40 per fixed window, only charged when there is actually a window worth fixing. Most listings have one or two windows that need it; some have a half-dozen. Window restoration is also free on any photo whose underlying enhancement is trial-covered, so if you are still inside the 10-enhancement free trial, the window fix is included at no extra charge. See per-image pricing for the full breakdown, start with 10 free enhancements, or browse virtual staging if you also need empty rooms staged.
More from BiziEdit
How to Fix Mixed Lighting in Real Estate Listing Photos
Fix mixed lighting in real estate listing photos with color optimization. BiziEdit unifies split white balance from tungsten and daylight for $0.79 per image.
Fix Hazy Aerial Photos on Real Estate Drone Listings
Fix hazy aerial photos on real estate drone listings. Clear the haze, drop the lens distortion, recover color. $0.79 per image. First ten enhancements free.
Twilight Conversion vs Sky Replacement for Listings
Twilight conversion vs sky replacement: one swaps daytime for dusk, the other only swaps clouds. Different services, different prices on a BiziEdit order.
Fix Flat Overcast Skies in Real Estate Listing Photos
Fix flat overcast skies in exterior listing photos at $0.79 per image. Sky enhancement is part of every BiziEdit photo enhancement. First ten free.
Fix Yellow Color Cast in Real Estate Listing Photos
Fix yellow color cast in listing photos at $0.79 per image. Color optimization is part of every BiziEdit photo enhancement. First ten enhancements free.
Twilight Conversion for Real Estate Listing Photos
Twilight conversion turns a daytime listing photo into a twilight shot in minutes. No reshoot. At BiziEdit, $0.79 per twilight on top of the $0.79 enhancement.
Pricing
$0.79 per image. 10 free with a trial. No subscription.
Try 10 photos freeFAQ
- Do I need a tripod for the second exposure?
- No. Just hold the phone in roughly the same spot for both shots, steady against your body. The two photos do not have to be perfectly aligned for the fix to work.
- What if my listing has lots of windows?
- Each window that gets the fix is +$0.40 on top of the base $0.79 enhancement. A typical listing has one or two; a house with a wall of glass might have four or five. You only pay for windows that actually get fixed, not for every photo or every window in the photo.
- What if the listing was shot at dusk or after dark?
- Twilight conversion is a separate enhancement for night exteriors. Window restoration is for daytime views where the outside is bright enough to wash out. If your listing photo was shot at dusk or after dark, request twilight conversion instead. The two services do not overlap.